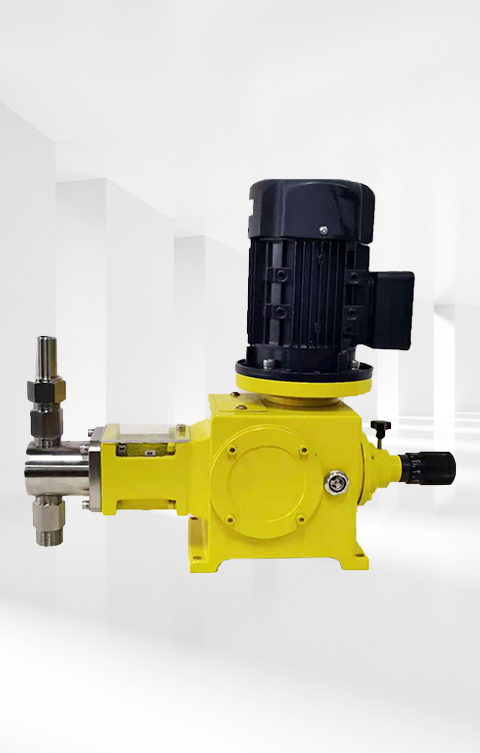
Precautions should be taken in the use of metering pump
Diaphragm metering pump in the special natural environment in the application of more, but in the whole process of application, because of some inappropriate use or other reasons, will lead to the destruction of the diaphragm, then once the metering pump diaphragm damage is not replaced on time, will lead to unsatisfactory results.
1. Remove the four screws that secure the stationary pump head. After the pump head is loose, adjust the four-stroke length to 0% before removing the pump head. It can ensure that the electromagnetic induction shaft has sufficient working pressure to maintain its connection firmly, so that the diaphragm can be unscrewed.
2. Pull the hydraulic end outward to free the screw from the plug. Hold the liquid end and turn counterclockwise. A little friction resistance can unscrew the diaphragm.
3. Once the diaphragm is removed, check the safety diaphragm of the metering pump to ensure that it is intact and without any damage. Install the new diaphragm and turn the backplane and diaphragm clockwise until they fit tightly. Adjust the back plate so that the drain hole is located at the bottom of the pump.
4. Install the pump head after the diaphragm installation is complete and the backplane leakage hole is placed in the vertical position. Ensure that the suction valve is aligned with both ends of the drain hole, and the hydraulic screws are aligned with the corresponding four holes.
5. When the hydraulic end is connected to the backplane, tighten the four anchor bolts in diagonal form until they fit. When carrying out this operation, the force is symmetrical to ensure that nothing goes wrong.

6. Turn to 99% of the length of the four strokes. This allows the complete assembly to rotate until the backplane drain holes are aligned with the bottom ends of the pump. Adjust the hydraulic end and diaphragm to the appropriate position during pump operation.


